Installing a projector in the office is an essential need for many businesses to support presentations, meetings, and training sessions. In this article, Co-IDB will guide you through a quick and simple process for installing projectors and screens, ensuring a professional and effective workspace.

How to Install an Office Projector
Step 1: Identify the Projection Space
Identifying the projection space is a critical first step. Businesses should choose a room with a minimum area of 12m² and convenient control over the office lighting system to ensure clear image quality. Utilizing dedicated meeting rooms provides the best results for high-stakes presentations.
Step 2: Choose the Right Mounting Solution
Depending on your space and aesthetic preference, you can choose from various methods:
- Screen Installation: Fixed wall-mounted or ceiling-mounted screens.
- Projector Installation: Ceiling-mounted (inverted), wall-fixed, or tabletop placement.
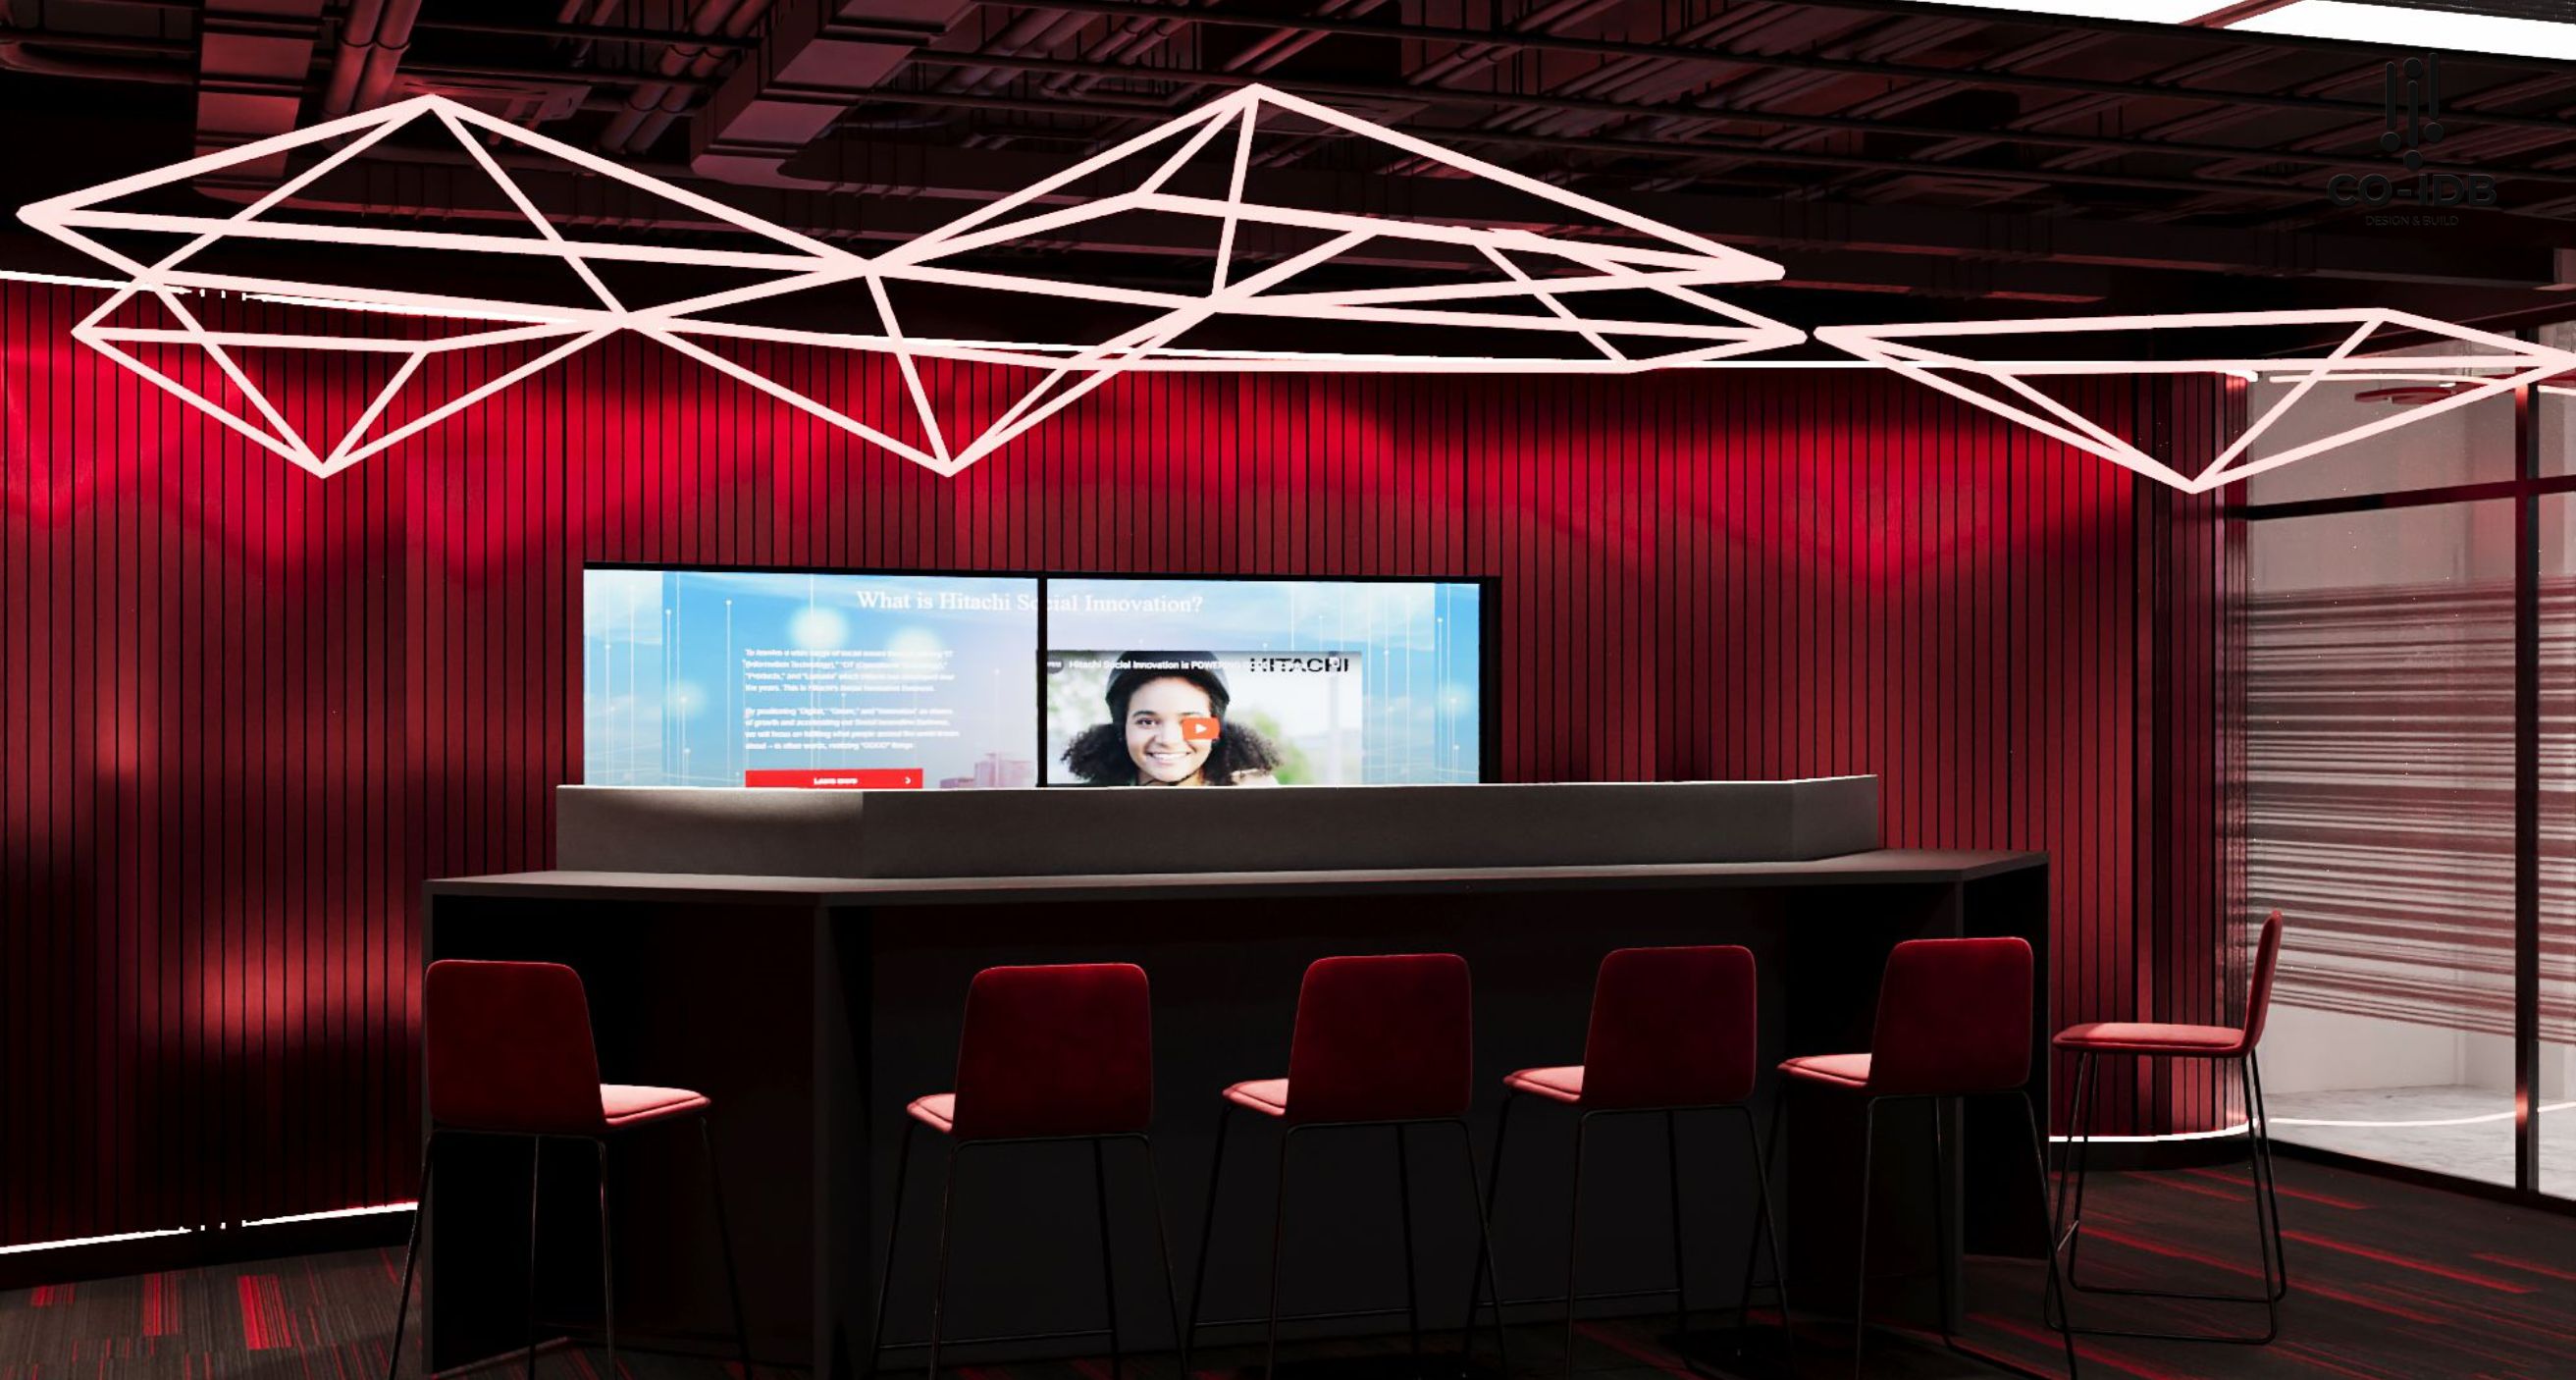
The most popular professional method is wall-mounting the screen and ceiling-mounting the projector. This saves floor space and protects the equipment from accidental impact.
Step 3: Determine the Throw Distance
In electronic equipment installation, calculating the “Throw Distance” (the distance between the lens and the screen) is vital. For standard projectors, a 100-inch image typically requires a distance of 3.5m to 5m, depending on the lens focal length and zoom capabilities.

Step 4: Execute the Physical Installation
Ensure the projector is perfectly perpendicular to the screen to avoid “keystone” distortion. The screen must be securely anchored, and environmental light sources should be minimized to maintain high contrast during usage.
>> See more: Office Electrical Construction
Step 5: Signal Connectivity
Modern projectors connect to source devices (laptops, PCs) via VGA, HDMI, or LAN cables. While most laptops auto-detect external displays, you can use these shortcuts if the signal doesn’t appear:
| Laptop Brand | Shortcut Key |
| TOSHIBA, HP, SHARP | [Fn] + [F5] |
| SONY, IBM | [Fn] + [F7] |
| DELL, EPSON | [Fn] + [F8] |
| Other brands | [Fn] + Screen Icon Key |
Step 6: Calibration and Focus
Most office projectors require manual focus. Rotate the Focus ring until the image is sharp. If ceiling-mounted, remember to access the menu settings to select the “Ceiling Mount” mode to flip the image 180 degrees.

Essential Accessories for Installation
- Universal Projector Mounts: Available in ceiling-drop or wall-arm configurations, adjustable from 30cm to 2m.
- High-Quality Signal Cables: Use high-bandwidth HDMI or VGA cables, measuring the exact length needed for concealed routing.
- Power Extension Cables: Ensure stable power delivery, as standard manufacturer cords are often too short for ceiling mounts.
Important Maintenance Notes
Heat Management
Projectors generate significant heat. Ensure vents and dust filters are not obstructed to prevent overheating and maintain bulb longevity.
Proper Shutdown Procedure
Never unplug a projector abruptly. Wait for the status light to turn from green to red and for the cooling fan to stop completely before disconnecting the power.
Professional AV Installation Services by Co-IDB
As a leader in office design and construction, Co-IDB ensures that over 90% of our office projects feature seamlessly integrated projector systems. We provide a comprehensive solution from interior conceptualization to technical AV installation. Trust Co-IDB to optimize your meeting room experience.
Effective projector installation is key to a functional office. Contact Co-IDB today for expert consultation and support.
>> See more: