Fit-out construction is becoming a familiar term in the construction and interior design industries. This is the process of transforming an empty space into a complete living or working environment, meeting all design and functional requirements. In this article, let’s explore more deeply with Co-IDB about fit-out and its importance in construction and office interior installation.

The Role of Office Fit-Out Construction
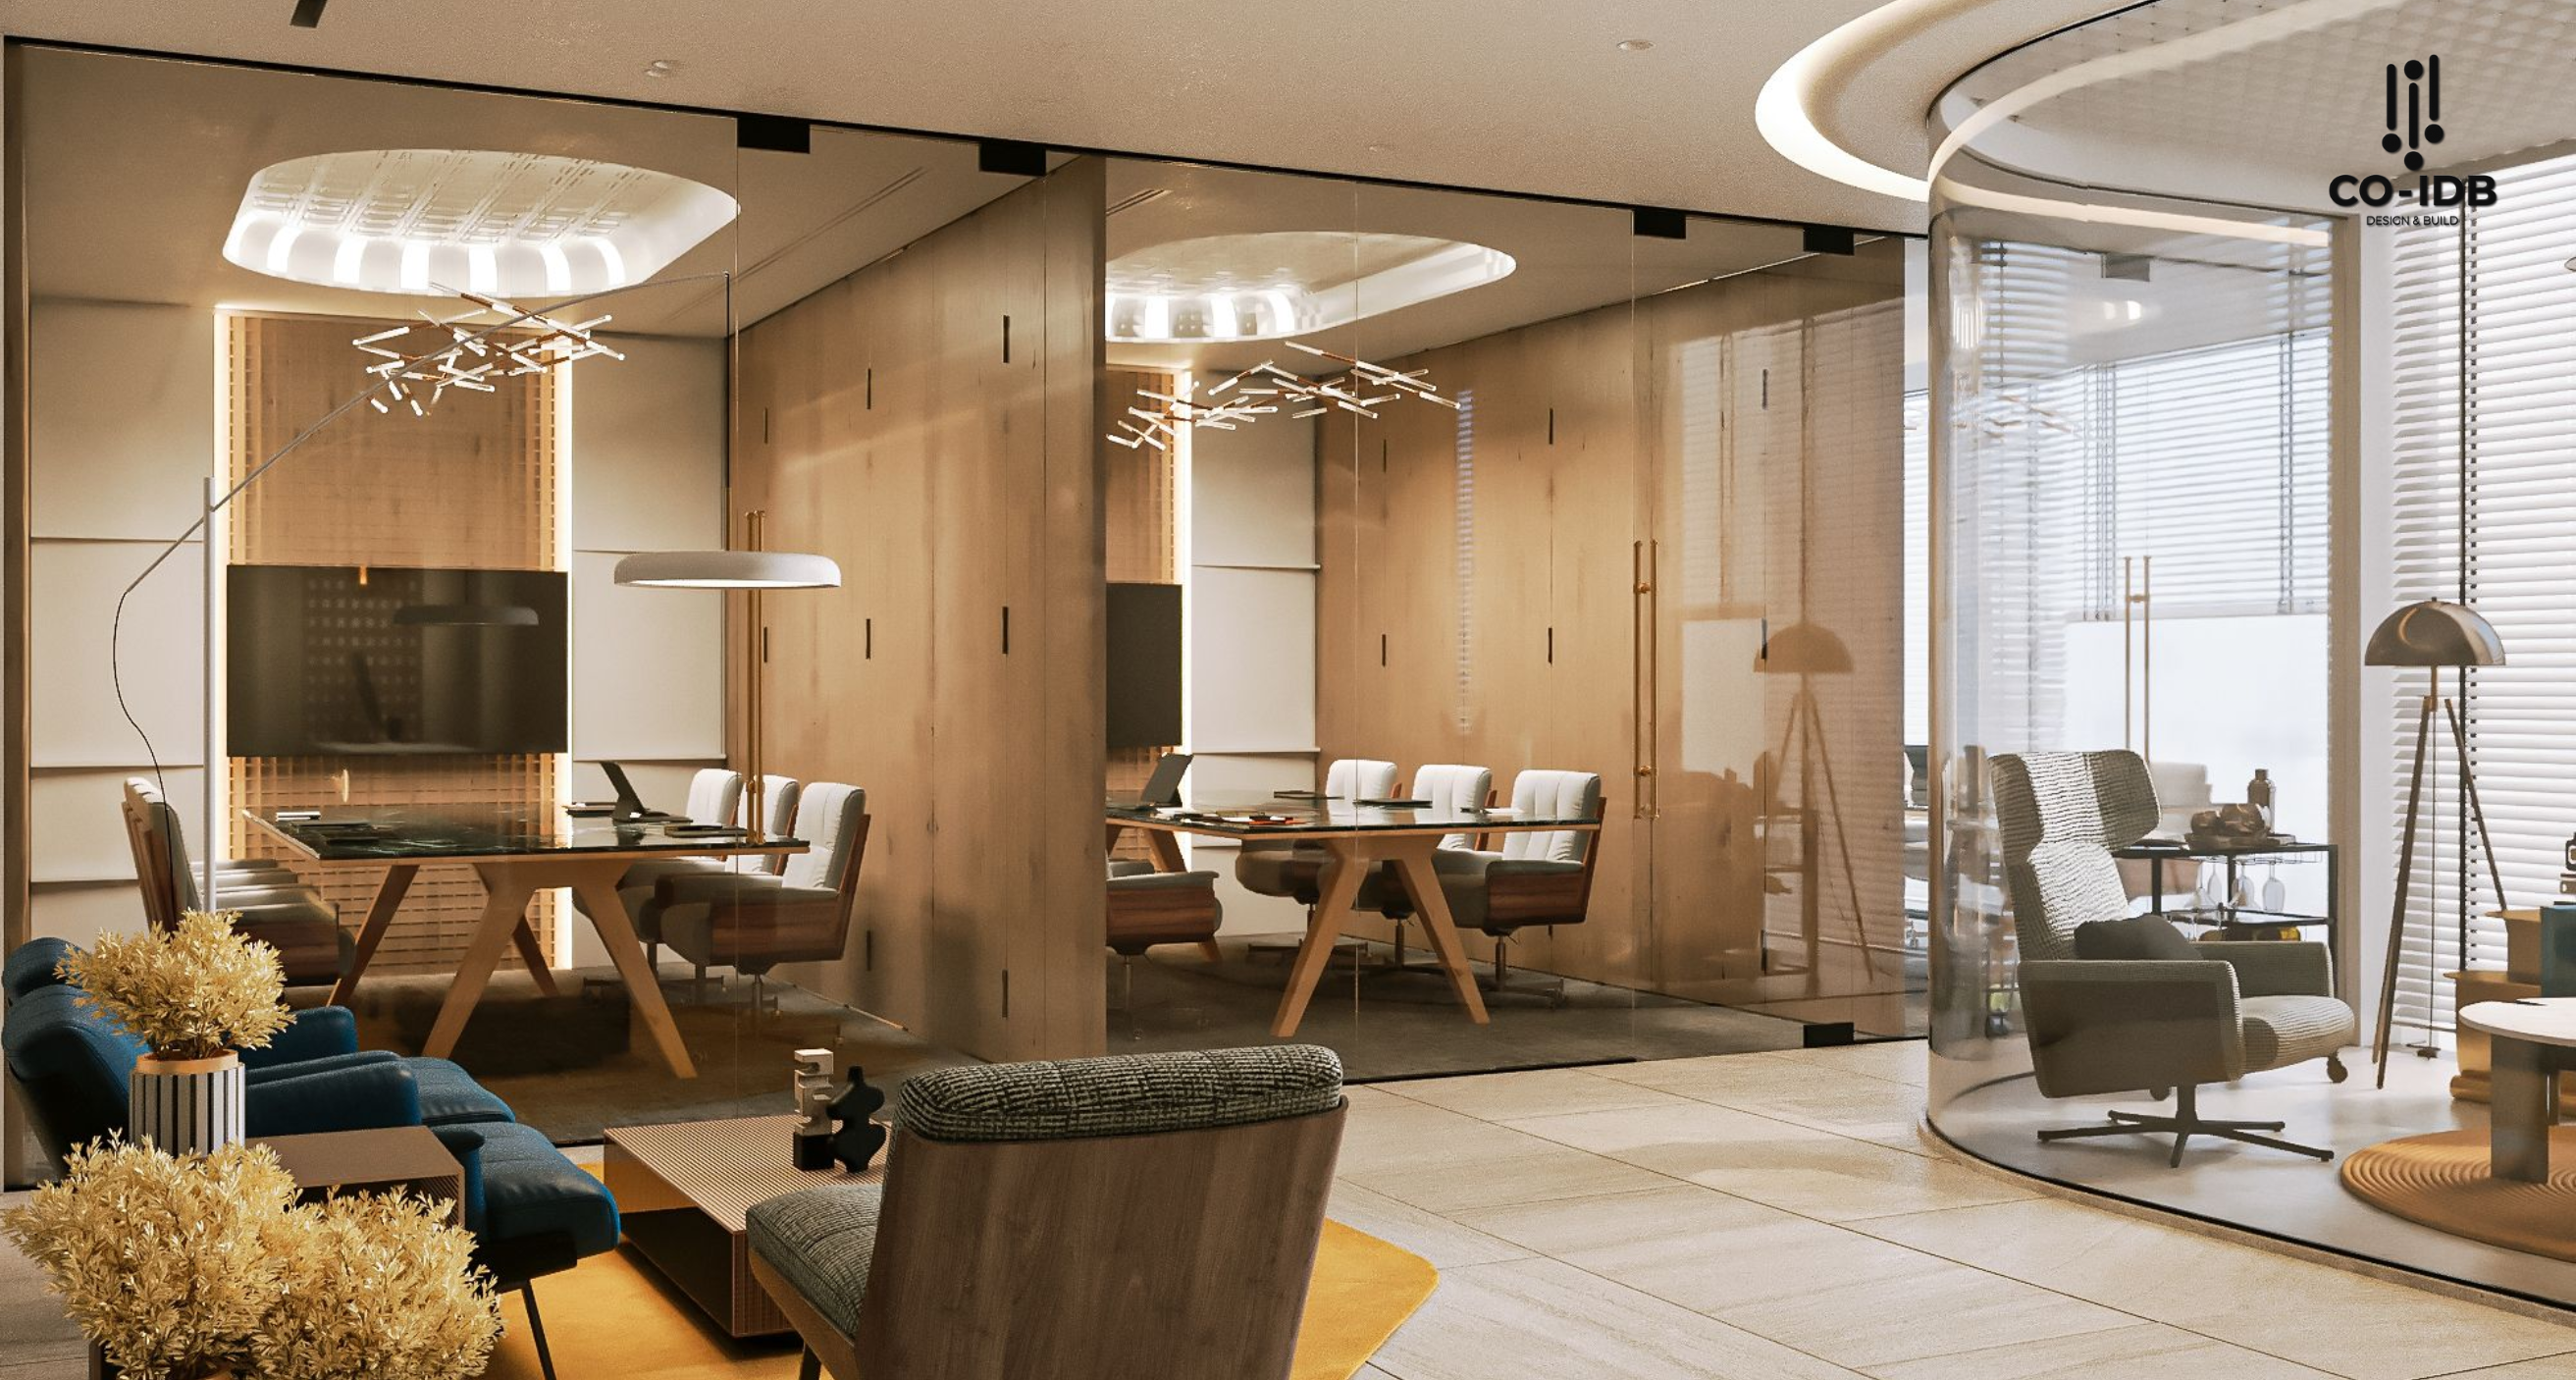
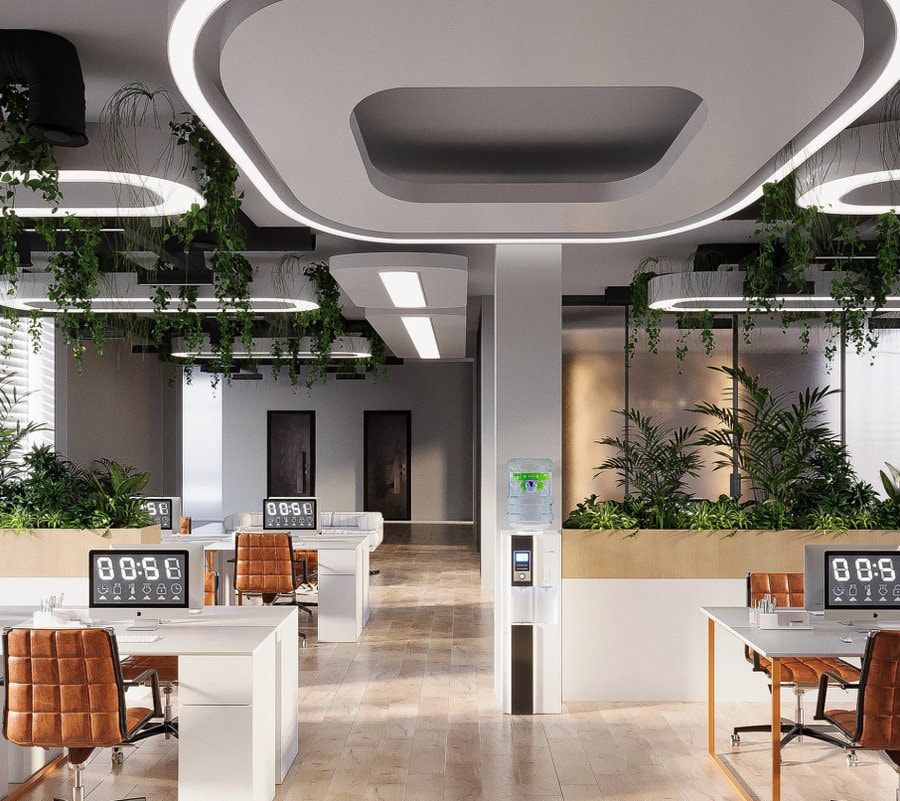
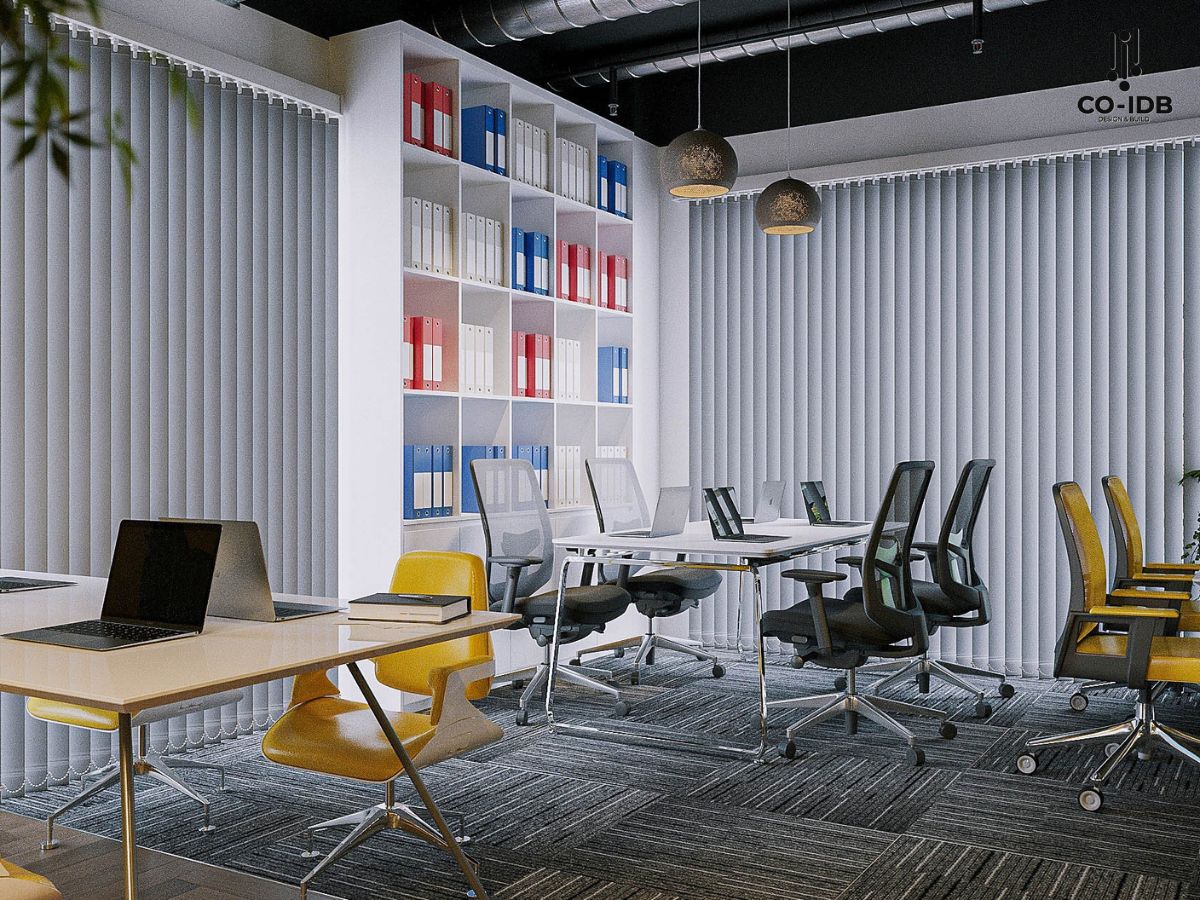
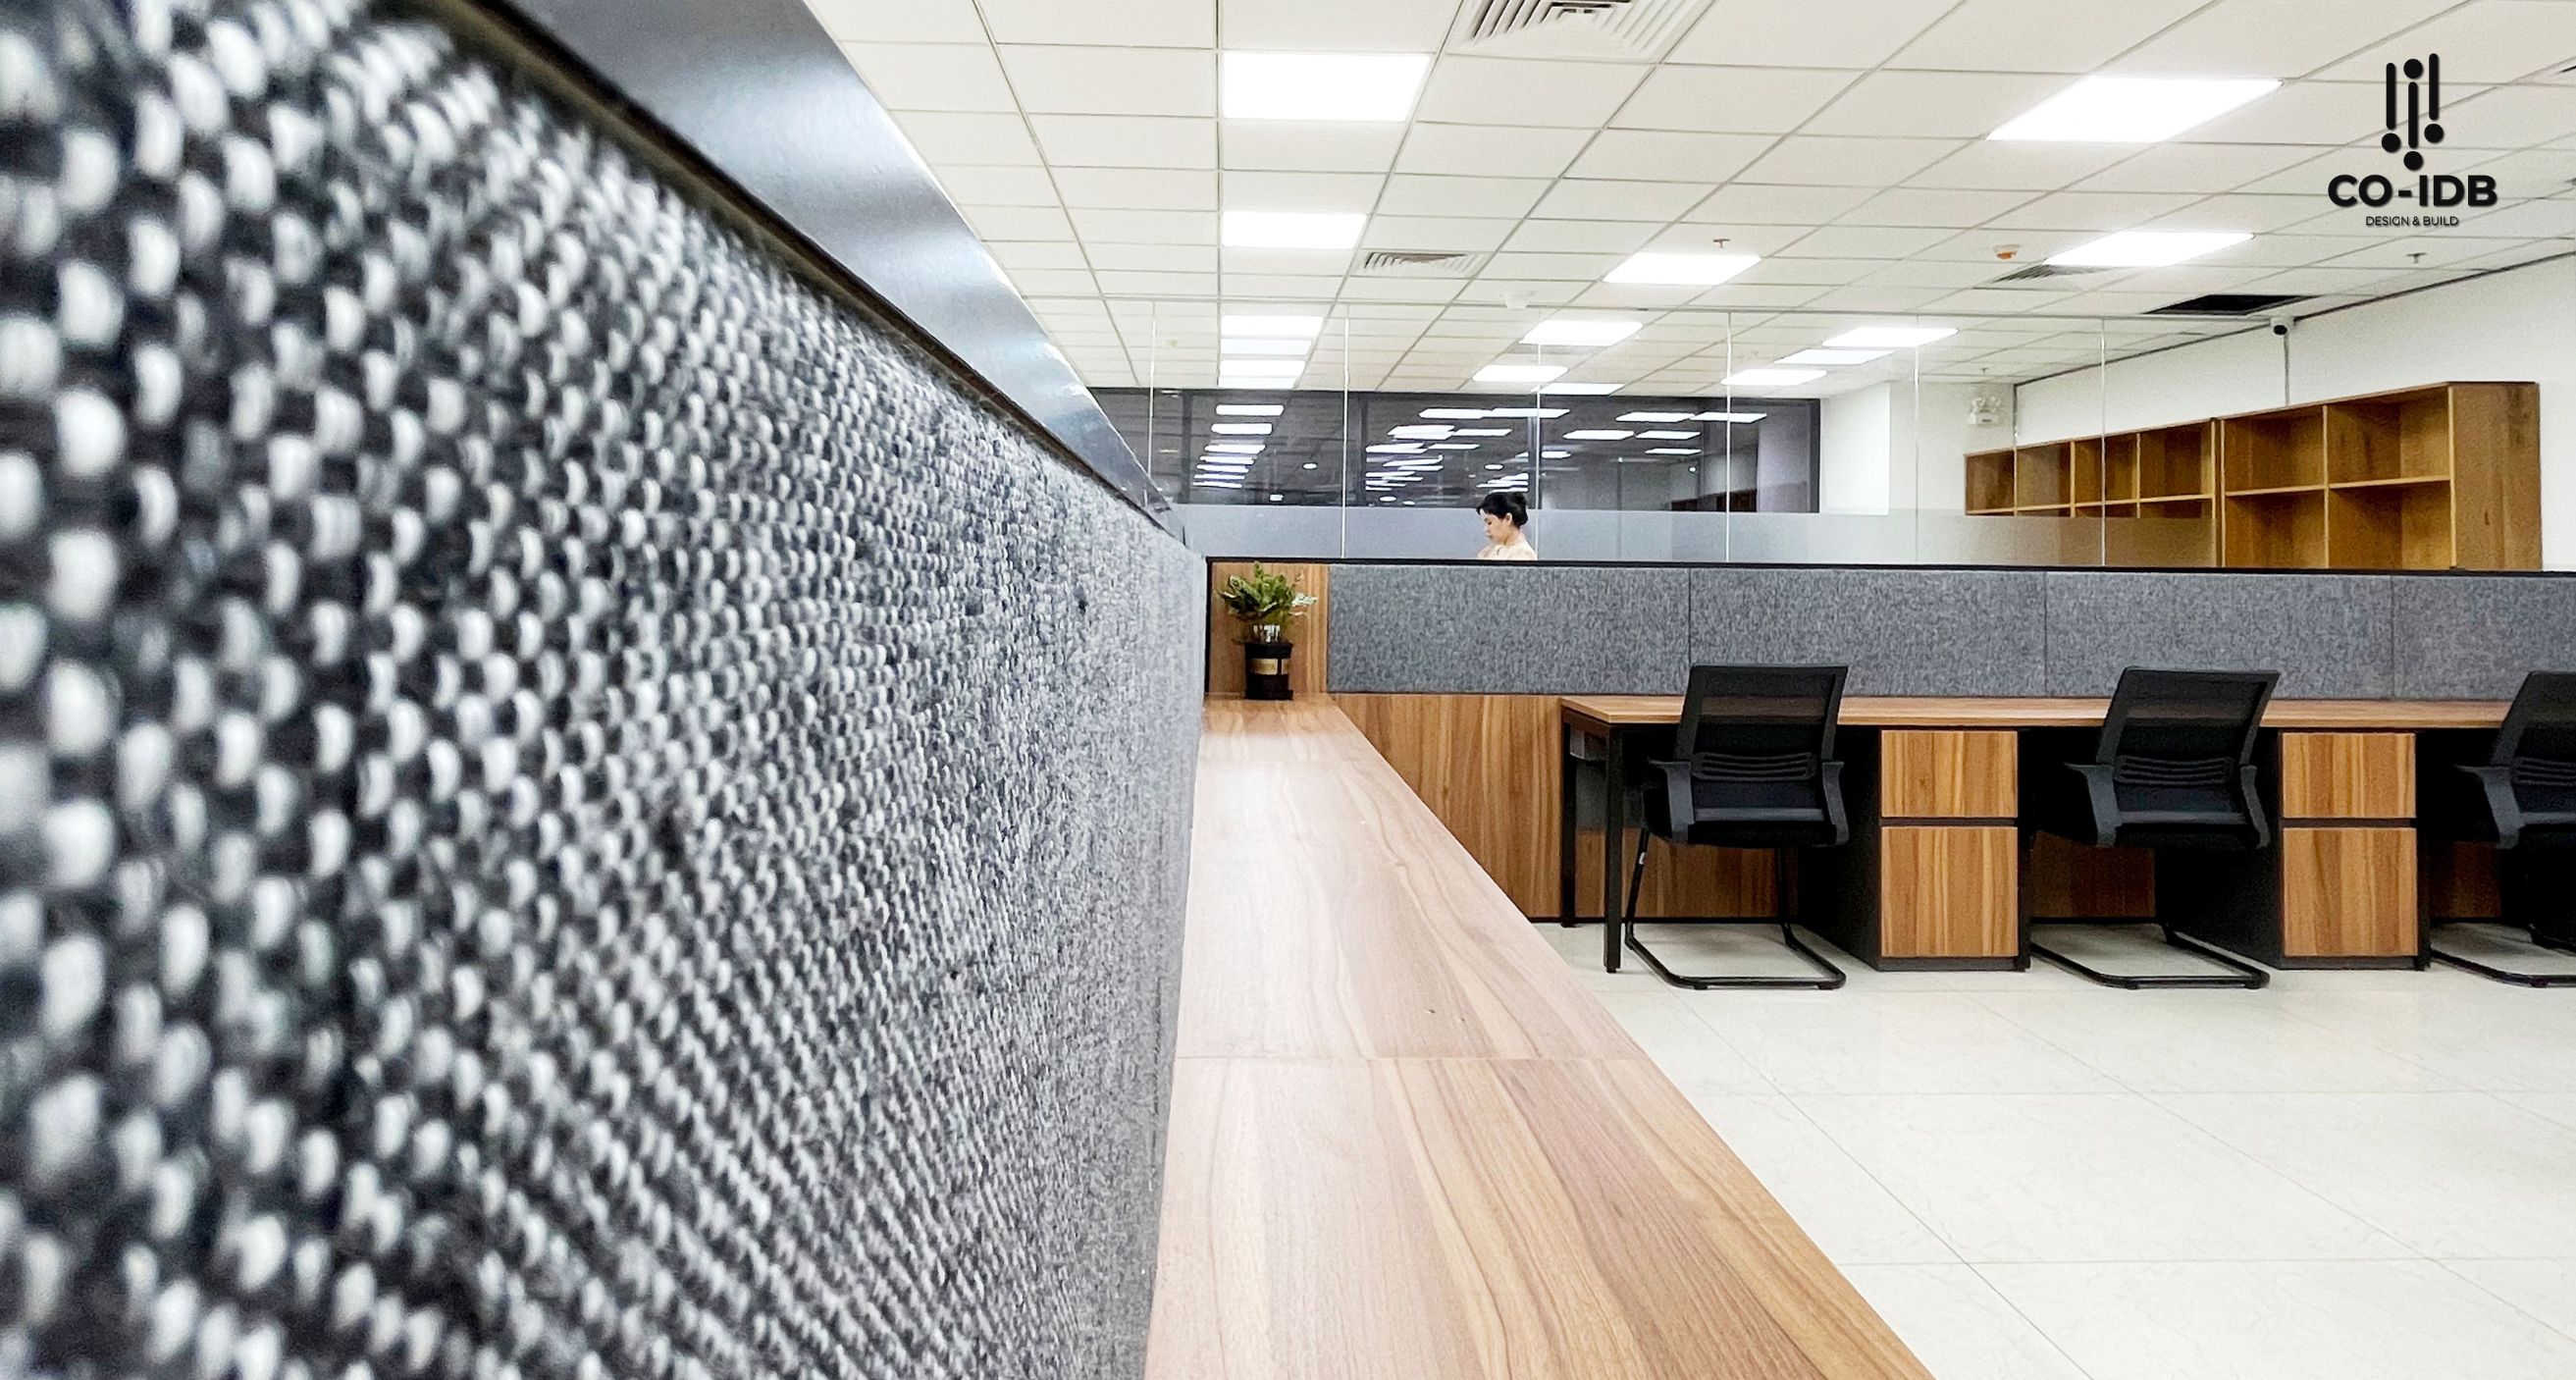
Today, large corporations tend to renovate their workspace, making it impressive and inspiring for employees. Below are the benefits that fit-out construction brings to office design: [Image of modern office interior design]
Creating Work Motivation
A well-executed office fit-out plan will enhance employee productivity. For example, designing open areas for relaxation, where employees can rest and socialize during breaks, is a great way to foster connectivity and creativity. All these factors contribute to increasing satisfaction, enhancing performance, and promoting business development.

Optimizing Space
Modern designs support the optimization of a company’s workspace. And fit-out is one of the modern design and construction options that helps businesses arrange the office layout logically, even with limited space. New storage solutions in office technology system construction will free up more space, helping to reduce the feeling of clutter.
Expressing Corporate Culture
Office fit-out construction is one of the effective methods to introduce the company’s image to customers or partners. Regardless of the business sector, presenting a flexible, comfortable, and culturally branded working environment will leave a strong impression on partners.

>> See more: Full-service office construction service
How Long Does Office Fit-Out Construction Take?
Generally, office fit-out construction takes from 1 to 14 weeks, depending on the area, project complexity, and contractor capacity. Below is an estimated time for fit-out construction based on office area:
-
Under $100m^2$: 1 – 3 weeks
-
$100 – 200m^2$: 3 – 5 weeks
-
$200 – 300m^2$: 5 – 7 weeks
-
$300 – 500m^2$: 7 – 10 weeks
-
Over $500m^2$: 10 – 14 weeks
Objective factors such as weather, the price of office interior materials, and licensing procedures can also affect the schedule. For an accurate estimate of construction time, businesses can contact Co-IDB for personalized consultation based on their company size.

The Scope of Office Fit-Out Construction
Office Ceiling Construction
-
Step 1: Determine and mark ceiling height
Use measuring tools such as a spirit level or laser level to determine and mark the ceiling height on the walls or columns. Mark the position of the underside of the ceiling.
-
Step 2: Secure the perimeter wall angle
Secure the wall angle to the wall or partition using a drill or nail gun. Ensure the distance between drill holes or nails does not exceed 300mm.
-
Step 3: Install the ceiling grid
Divide the space and set up the ceiling grid by attaching the main runners and cross tees to the marked points. Ensure the ceiling grid is evenly and symmetrically divided.
-
Step 4: Install suspension points
Secure the suspension points to the main structure of the ceiling or roof, with the distance between suspension points not exceeding 1200mm and from the wall to the first suspension point approximately 400-600mm.
-
Step 5: Install the main runners
Connect the main runners according to instructions, ensuring an even distance between them.
-
Step 6: Install the cross tees
Attach the cross tees to the keyways on the main runners, following the designed size and spacing. Ensure the cross tees are installed correctly and evenly.
-
Step 7: Adjust the grid
Inspect and adjust the ceiling grid to ensure it is straight, flat, and securely fixed.
-
Step 8: Install ceiling panels
Place the ceiling panels onto the grid and use clips to secure them in position. Ensure each panel is held firmly.
-
Step 9: Joint and edge treatment
Treat the joints between ceiling panels with joint compound or appropriate filling material. Cut and trim the ceiling edge details to ensure high aesthetics and completeness.
-
Step 10: Inspection and finishing
Inspect the entire work to ensure all elements meet quality and aesthetic requirements. Make necessary adjustments and complete the final details.

Office Wall Construction
-
Step 1: Survey and prepare the site
Thoroughly survey the construction location, identify areas needing renovation and technical requirements. Prepare a clean site, removing obstacles to be ready for construction.

-
Step 2: Determine and mark wall positions
Use measuring tools such as a laser level or tape measure to mark the position and height of the wall to be constructed. Ensure the marked position is accurate and aligned with the overall design.
-
Step 3: Secure the wall frame
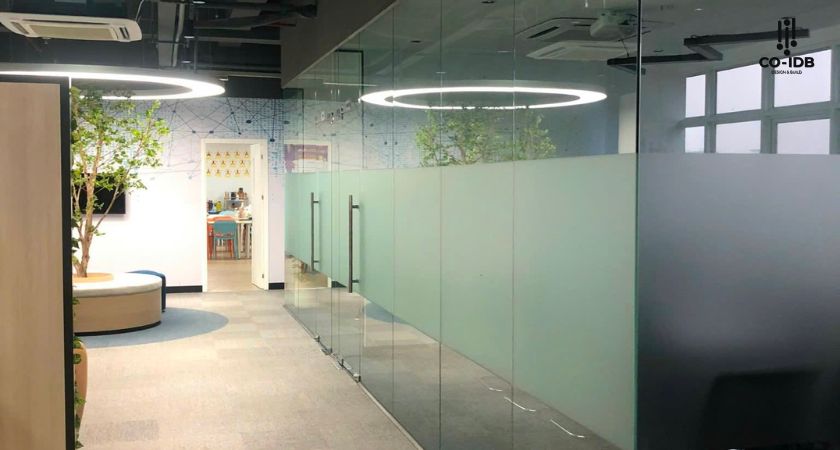
Install the wall frame by attaching the main and auxiliary studs to the marked positions. Use appropriate materials such as steel or aluminum depending on technical requirements and design. [Image of internal wall framing installation]
-
Step 4: Install wall partitions
After the frame is secured, proceed with installing the wall partitions using materials such as gypsum board, wood, or glass. Ensure the wall panels are tightly fitted to the frame, without warping or misalignment.
-
Step 5: Secure and reinforce the wall
Use accessories such as screws or adhesive to secure the partition to the frame. Inspect and reinforce the joints and corners to ensure the wall is sturdy and durable.
-
Step 6: Wall surface treatment
After the wall panels are fully installed, treat the joints and wall surface by plastering, painting, or applying wallpaper. Ensure the wall surface is smooth and meets aesthetic requirements.
-
Step 7: Install accessories and finalize
Install necessary accessories such as electrical outlets, switches, wire conduits, and other equipment according to the design. Inspect the entire wall system to ensure aesthetics and effective use.
-
Step 8: Inspection and acceptance
Conduct a general inspection of the work, ensuring the wall meets quality, design, and technical requirements. Make necessary adjustments and proceed with acceptance.

>> See more: Types of office doors commonly used during construction
Office Flooring Construction
-
Step 1: Survey and prepare the site
Survey the current floor condition, assess flatness, substrate condition, and related factors. Clear and clean the site, removing excess materials, dirt, and other obstacles in preparation for construction.
-
Step 2: Floor surface treatment
Depending on the current state of the floor, proceed with treatments such as grinding, leveling, or repairing cracks and holes. Ensure the floor surface is flat and clean before proceeding with the next layers of construction.
-
Step 3: Waterproofing and soundproofing (if needed)
If the project requires the construction of a waterproofing or soundproofing layer. This is particularly important for ground-floor offices or those with high soundproofing requirements. Use specialized materials to ensure long-term effectiveness.
-
Step 4: Install the floor underlayment
Proceed with installing the floor underlayment (if applicable), such as foam, padding, or other materials to create a cushion between the subfloor and the finished material. This underlayment helps improve the floor’s comfort and sound insulation.
-
Step 5: Install the finished flooring material
Select and install the flooring material suitable for the project’s design and requirements. Common materials include tile, wood, laminate, carpet, or vinyl flooring. Install according to proper techniques to ensure the floor is flat, sturdy, and aesthetically pleasing.
-
Step 6: Joint treatment and finishing details
After installing the flooring material, treat the joints, borders, and other connection details such as floor trims, wall edges, and corners. Ensure the joints are tight, even, and aesthetically pleasing.
-
Step 7: Cleaning and floor protection
After completing the installation, clean the entire floor surface to remove dirt, adhesive, or stains from the construction process. Use temporary protection measures such as covering with protective film or mats to prevent floor damage during the construction of other items.
-
Step 8: Inspection and acceptance
Conduct a quality inspection of the entire floor upon completion, including flatness, structure, and aesthetics. Confirm with the customer or supervisory consultant about the floor quality and make necessary adjustments before project acceptance.

The Process of Completing the Fit-Out Phase
-
Step 1: Survey current status and prepare construction plan
-
Step 2: Install technical systems
-
Step 3: Execute basic construction items
-
Step 4: Complete interior installation
-
Step 5: Finalize details and decoration
-
Step 6: Clean the site and carry out acceptance
>> See more: What businesses need to know when constructing a PCCC system

Fit-out construction is not only a crucial step in completing the workspace but also a determining factor for employee comfort and work efficiency. To ensure the fit-out process goes smoothly, contact Co-IDB immediately for the quickest advice and support.